


Z31 Zenki to Kouki 1984-1986 to 1987-1989 Front Body Conversion
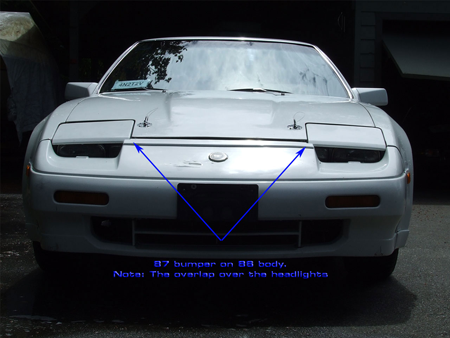
The 300ZX was slightly redesigned for the 1987 model year to boost sales, as the original design "dated quickly." The update brought a new nose and hood, larger wheels and a new tail. The front became less angular, the bumper extended less under the car, the fog lamps moved into the bumper, and wider headlamps with replaceable bulbs were used.
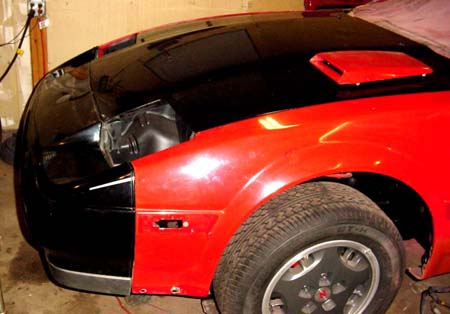
In my opinion, the later front end suits the "de-molded" 300ZX better than the original angular nose. Here's what it took to put the later nose on my 300ZX, built in June 1984.


At a Glance
- Bolts on
- Hood and hinges
- Small trims
- Bumper: new headlamp bucket mounting points, and about 1/4" off each end of the upper bumper mount
- Fabrication
- Headlamp buckets: cutting, drilling, bending and welding
- Tools
- Angle grinder with cutoff wheels, drill, body hammer, welder, seam sealer, undercoating and black paint
- Time
- About 4 hours for the first headlamp bucket
Parts Needed
- Hood (the donor car's hinges help if yours don't line up)
- Bumper cover (the plastic skin)
- Bumper reinforcement (the metal bumper)
- Fog lamps, if you can find them
- Headlamp buckets, complete with headlamps, wiring and covers
- Hood safety catch support
Bumper and Hood Fitment
The hood should bolt right on. I used the hinges from the '87 donor car and they bolted up fine, so try those if you have trouble. The bumper is not a bolt-on, for two reasons.
1. Headlamp bucket mounting points
The '87 headlamp buckets mount in different spots than the '84's. The new mounting points are roughly where the green marks are below.

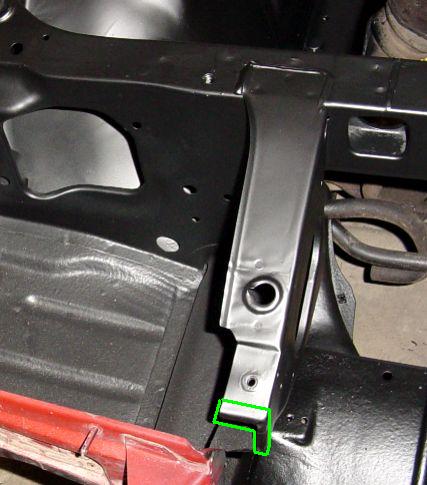
2. Upper bumper mount
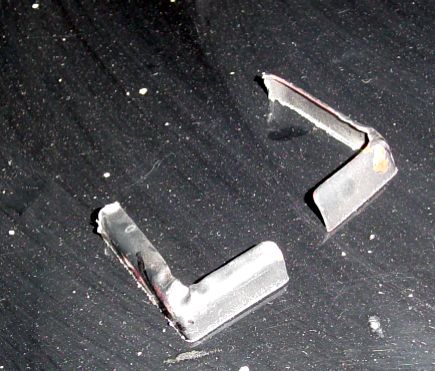
The '87 upper bumper mount is shorter than the '84's. To make it bolt up, I cut about 1/4" off each end (outlined in green) with an angle grinder and cutoff wheel. It took about 10 seconds a side, and the mount bolted right up.
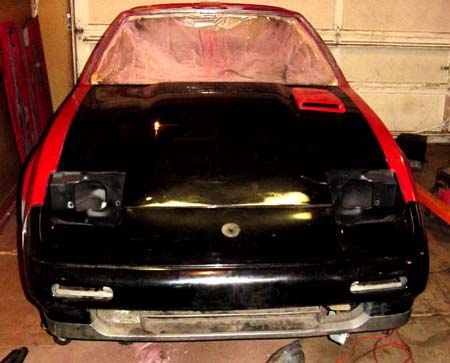
Every other mounting point lines up where it should:
Headlamp Fitment
From what I'd read, the headlamp buckets only need a couple of new holes and a bent base. That may be true for some cars, perhaps the '86. On mine it was a lot more work, but the result looks factory.
Why the '87 headlamp won't fit
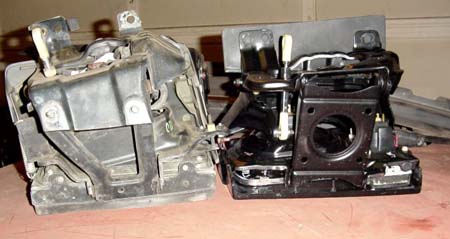
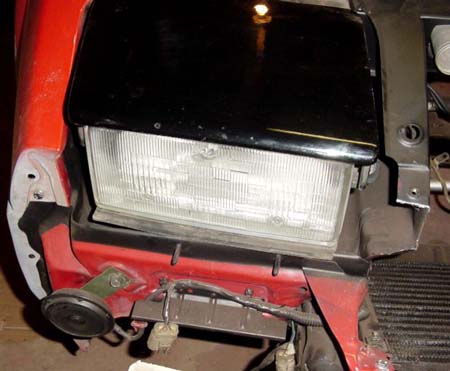
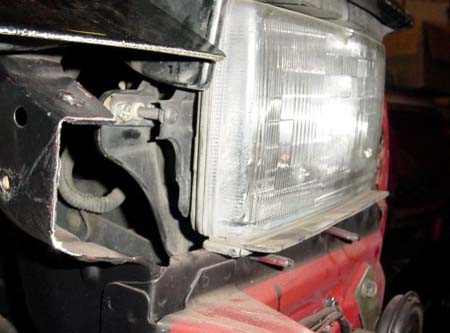
The '87 bucket is much deeper than the '84's, so the '87 headlamp sits too high in the '84 bucket and won't recess.
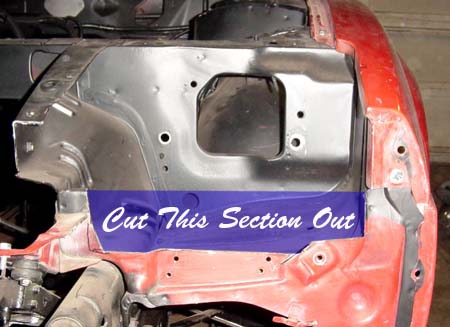
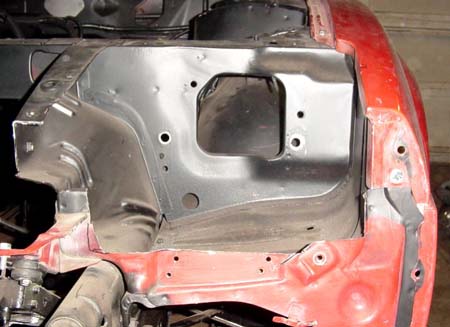
Cut the front panel
The front metal piece of the bucket has to come out. Based on how far the headlamp stuck up above the hood, I cut out about 3" with a 4-1/2" angle grinder and a 36-grit cutoff wheel. Disheartening, but necessary.
Drill for the mounting studs
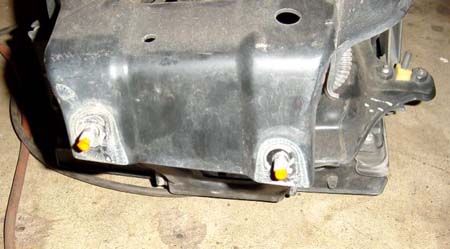
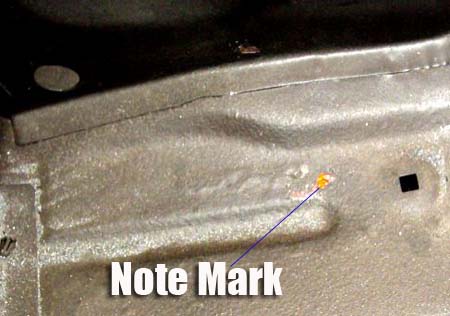
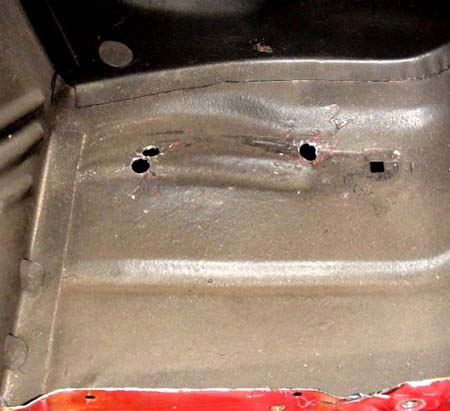
The '87 headlamp mounts with two studs on its underside that go through the bottom of the bucket. I painted the studs with fluorescent paint, set the headlamp in, and drilled where the paint left marks. The left stud took a couple of extra holes to line up, and I elongated the holes until everything adjusted correctly.
Bend the bucket and lengthen the brackets
The '84 bucket is too deep at its inner edge, which tilts the headlamp toward the radiator. Bend the bottom of the bucket up about 1-2"; a body hammer worked well.
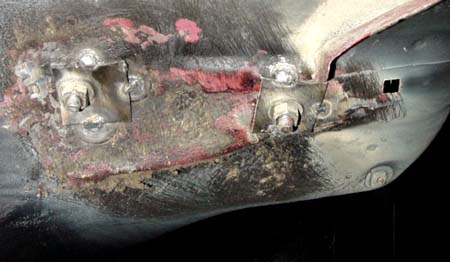
On the test fit, the brackets that hold the bucket to the radiator support were too short and the bucket sat about 1/2" above the hood. I cut them off with the angle grinder and welded on new ones made from 1/8" mild steel.
Align, rebuild and seal
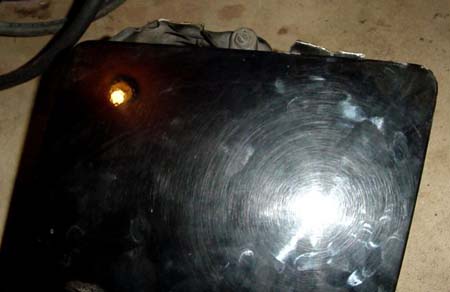
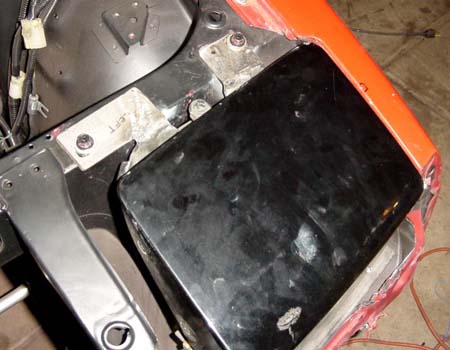
Then came about 2 hours of bending, tweaking and adjusting until the headlamp sat flush with the hood at the right angle. Once it lined up, I tack welded spacers at each mounting point so the headlamp goes back in the same place if it's ever removed.
With the headlamp aligned, I rebuilt the front metal piece from 22-gauge steel, about 3/4" farther out than the original. (The odd black area in the photo is just a reflection.)
When everything fits, brush 3M brushable seam sealer over all the welds and seams, re-undercoat the bottom of the bucket, and paint the radiator support, bucket sides and new bucket frame to match the underhood black.
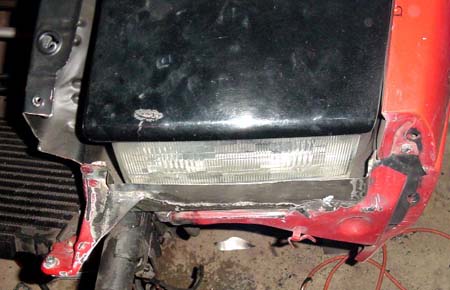

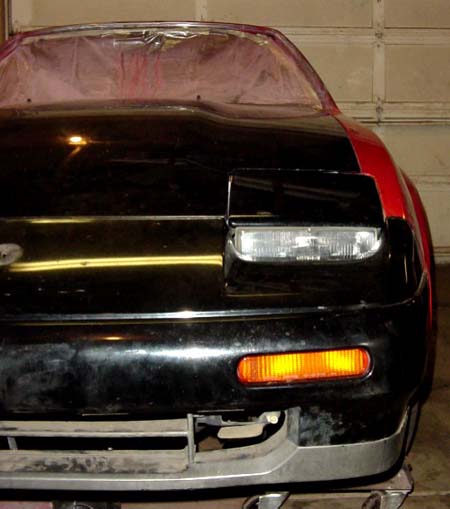
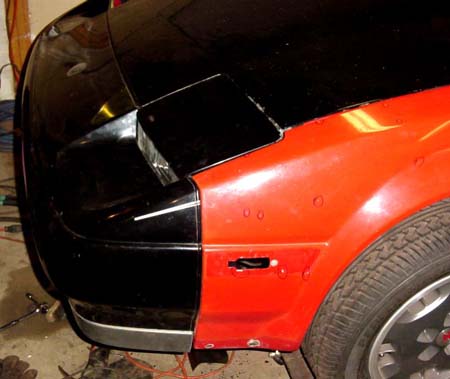
The result
The first side took me about 4 hours straight. The second should go faster.
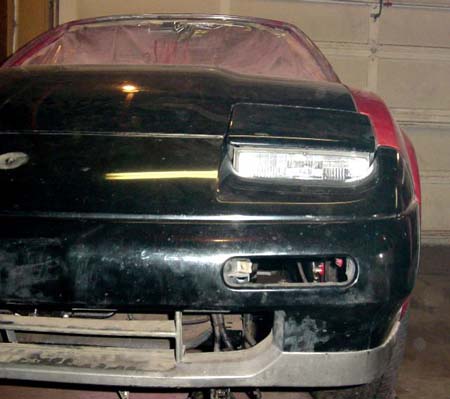
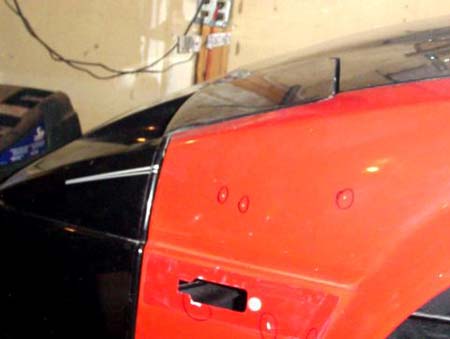
Finishing Up
To finish, coat every weld with seam sealer, paint all the bare surfaces black, and reapply undercoating inside and under the headlamp buckets. My plan is to rebuild the headlamp buckets to like-new condition, the same as the originals, and to use aftermarket fog lamps, which are much better quality and cost less than dealer replacements.
The plan for the gray strip along the bumper is to carry it down the fenders with formed fiberglass strips.
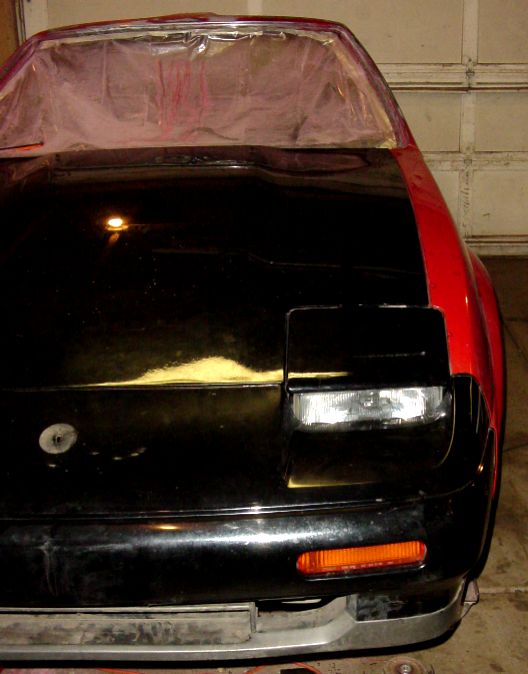
A few more photos to help you decide whether this conversion is for you:
Credits
- Written by Raredare
- 1984-86 comparison photo: NissanEgg