


Z31 Rear End Conversion from 1984-86 to 1987-89
With the rounded '87-style front end and no bulky side molding, my car's '84-'86 rear started to look dated and out of place. So why not update it? After weighing several options, I decided the best fit for a 200ZR-II replica was the more modern '87-'89 rear panel. Put the two side by side and both the challenge and the payoff are clear.


At a Glance
- Type
- Weld-in body work, not a bolt-on
- Work
- Drill out spot welds, cut, trim and fit, weld, then filler, primer and paint
- Tools
- 3/8" cobalt drill bit, cutoff tool, screwdriver, welder, body filler, seam sealer, high-build primer
Parts Needed
- 1987-89 rear panel. Nissan part 79110-21P50 is discontinued, so you'll most likely need one cut from an '87-'89 car at a salvage yard. Cuda from Z31.com sent me the panel from his '87 parts car, which saved a lot of time and money. This guide uses a cut panel.
- 1987-89 taillights, plus the hatch seal and trim pieces.
- Optional: '87 rear emblem. I used the graphite "300ZX Turbo" badge, Nissan part 99099-21P11.
The Process
1. Brace the body
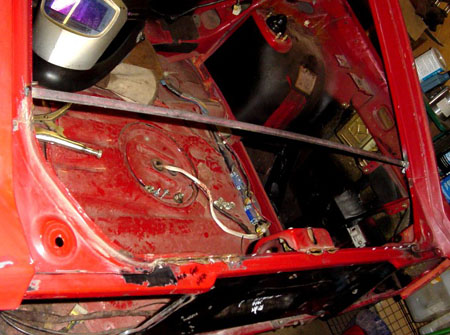
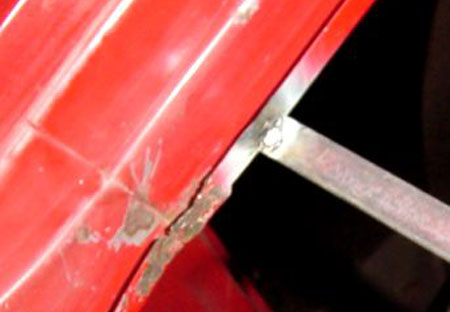
Weld a brace across the hatch opening, just behind the quarter windows. It keeps the body from spreading once the original rear panel is out.
2. Remove the old panel
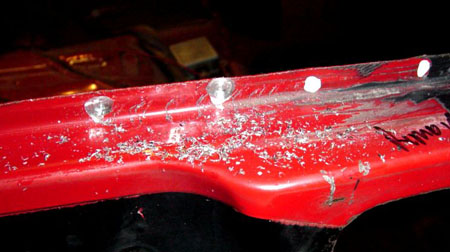
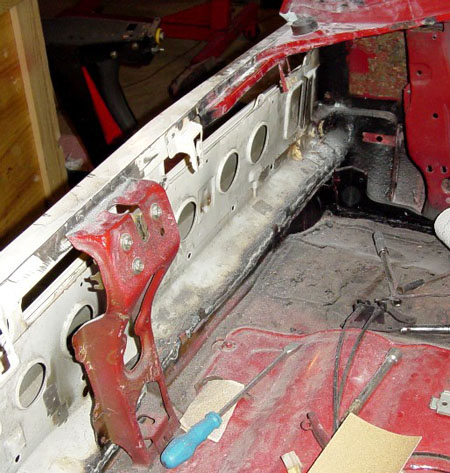
The rear panel is held on with spot welds. Start along the top edge, where the hatch closes. The '84 latch and its support get reused, so drill out their welds too. Use a 3/8" cobalt bit and drill through the first layer only.
Pry the panels apart with a screwdriver once the welds are drilled. Don't worry about damaging the panel coming off. Work along the outer edges and the license plate panel the same way.

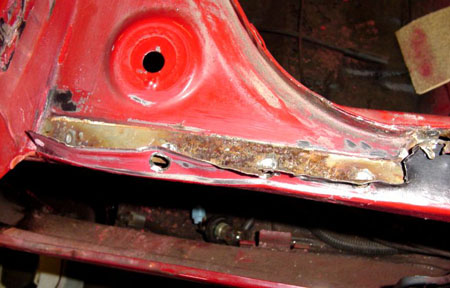
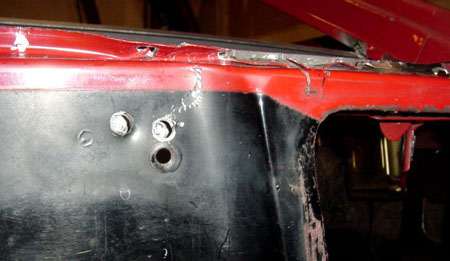
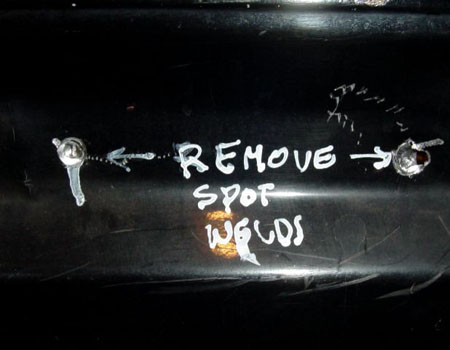
Cut the lower edge about 2" above the factory seam. At the quarter panels, cut about an inch in from the edge, leaving all the quarter panel to taillight mounts in place. Then lift the panel off.
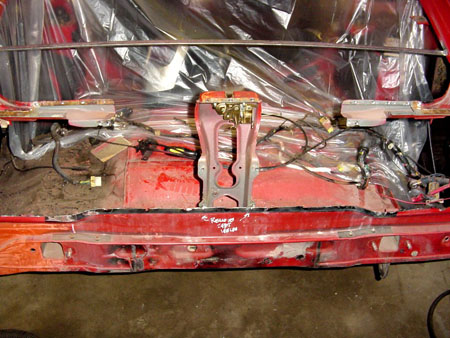
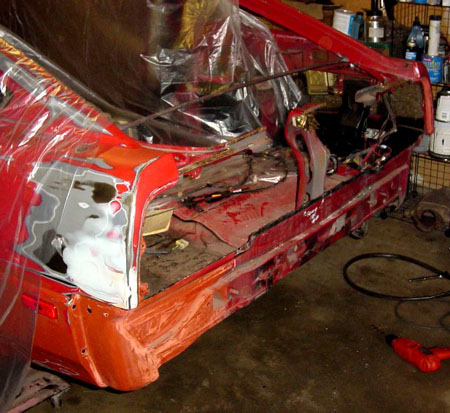
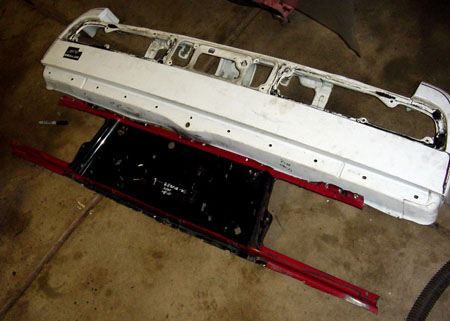
3. Fit the new panel
Trim the quarter panel edges of the '87 panel to meet the '84 body. Take a little at a time and test fit often. Here's what I trimmed:
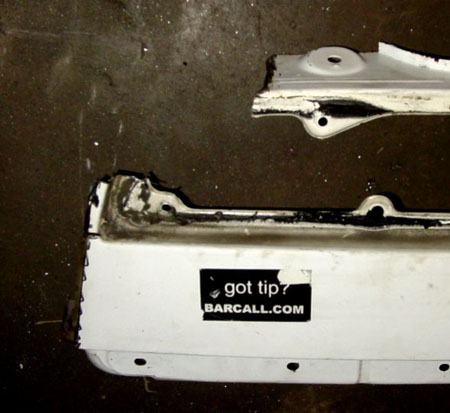
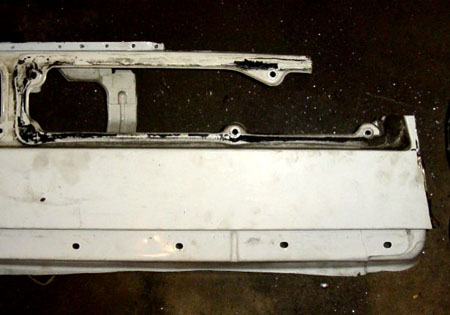
Remove the inside supports and the latch from the '87 panel; they're spot welded in, so drill them out as before. Then keep fitting and trimming until the panel sits perfectly. Test fit the taillights before you weld, to make sure the gaps are even.

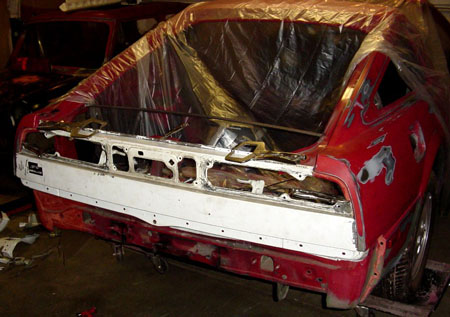
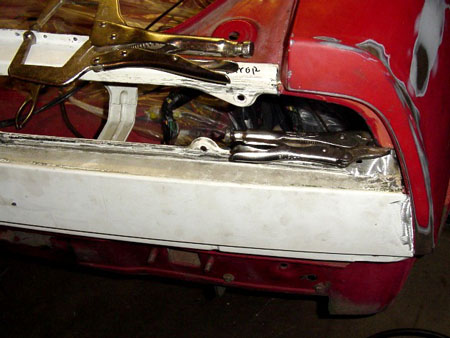

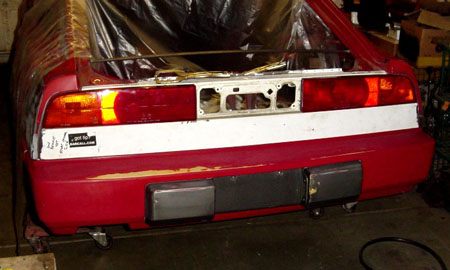
4. Weld it in
Plug weld the panel to the upper reinforcement and the latch through the drilled holes, and run continuous welds at the quarter panels and along the bottom. You may need to bend the '84's lower inside edge to meet the '87 panel.
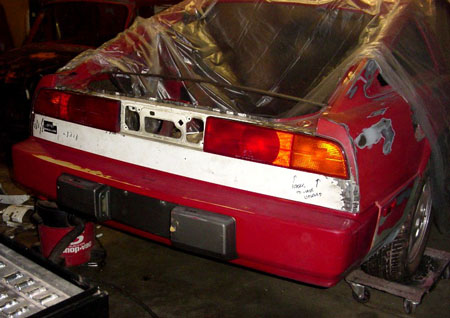
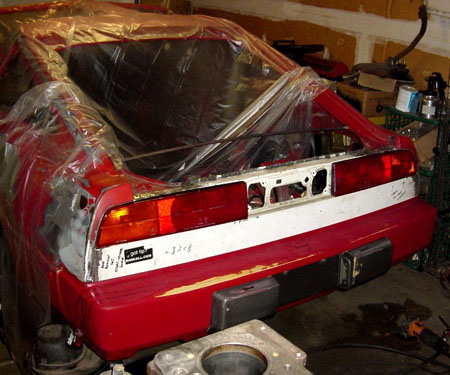
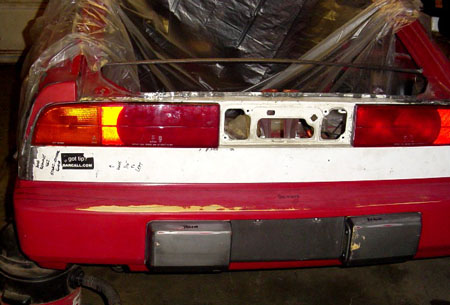
5. Body work and paint
Grind the welds smooth and shape the area with a good-quality filler. The bottom has a continuous stitch weld. (The filler on the quarter panel in these photos is from an old accident repair, not the conversion.)
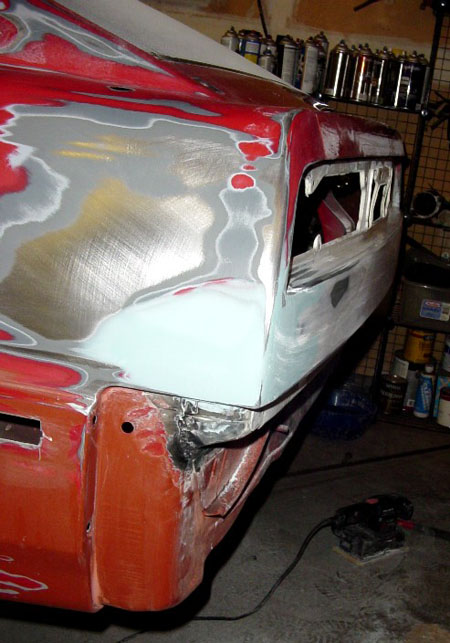
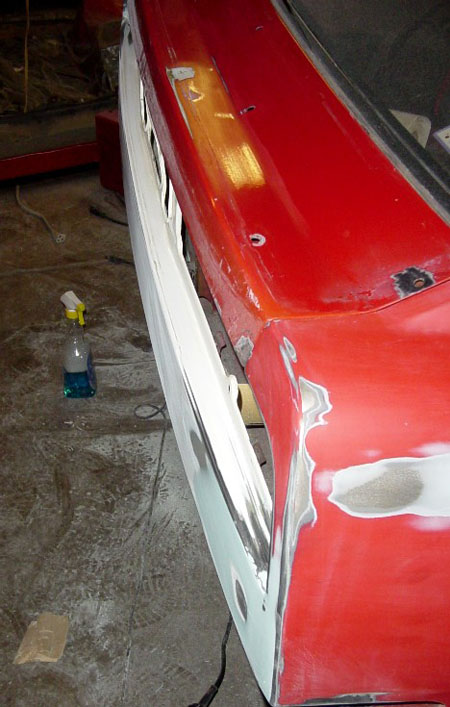
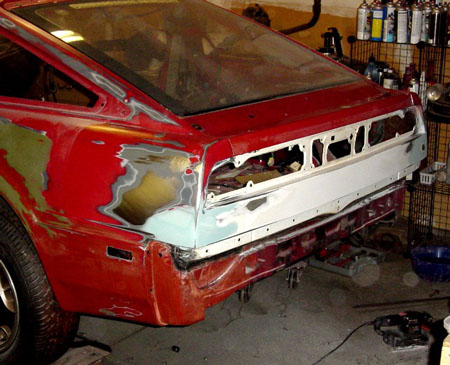
Before priming, brush 3M brushable seam sealer over every weld, inside and out. Coat all the interior seams so moisture can't get in. Mask the body so paint doesn't get inside.
Prime with a high-build surfacer and sand to 600 grit, or whatever the primer maker recommends. Then paint, and install the taillights, hatch seal and trim, and the '87 emblem if you're using one.


Credits
- Write-up and photos: Raredare
- 1984-1989 Nissan 300ZX factory service manuals